2023-12-13
1
Camera . key, A key
・ Move the camera closer to the object / Select all.,A,Alt + A
・ Move the camera: Middle Drag, Shift + Middle Drag
Move the camera closer to the object / Select all
. ,A ,Alt + A
Upon launching, there is one object (a cube), a camera, and a point light from the beginning.
Leave them as they are and let’s first manipulate the camera.
When modeling, the camera peeking into the 3D View screen is referred to as the “working camera.”
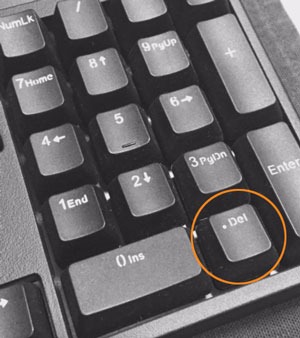
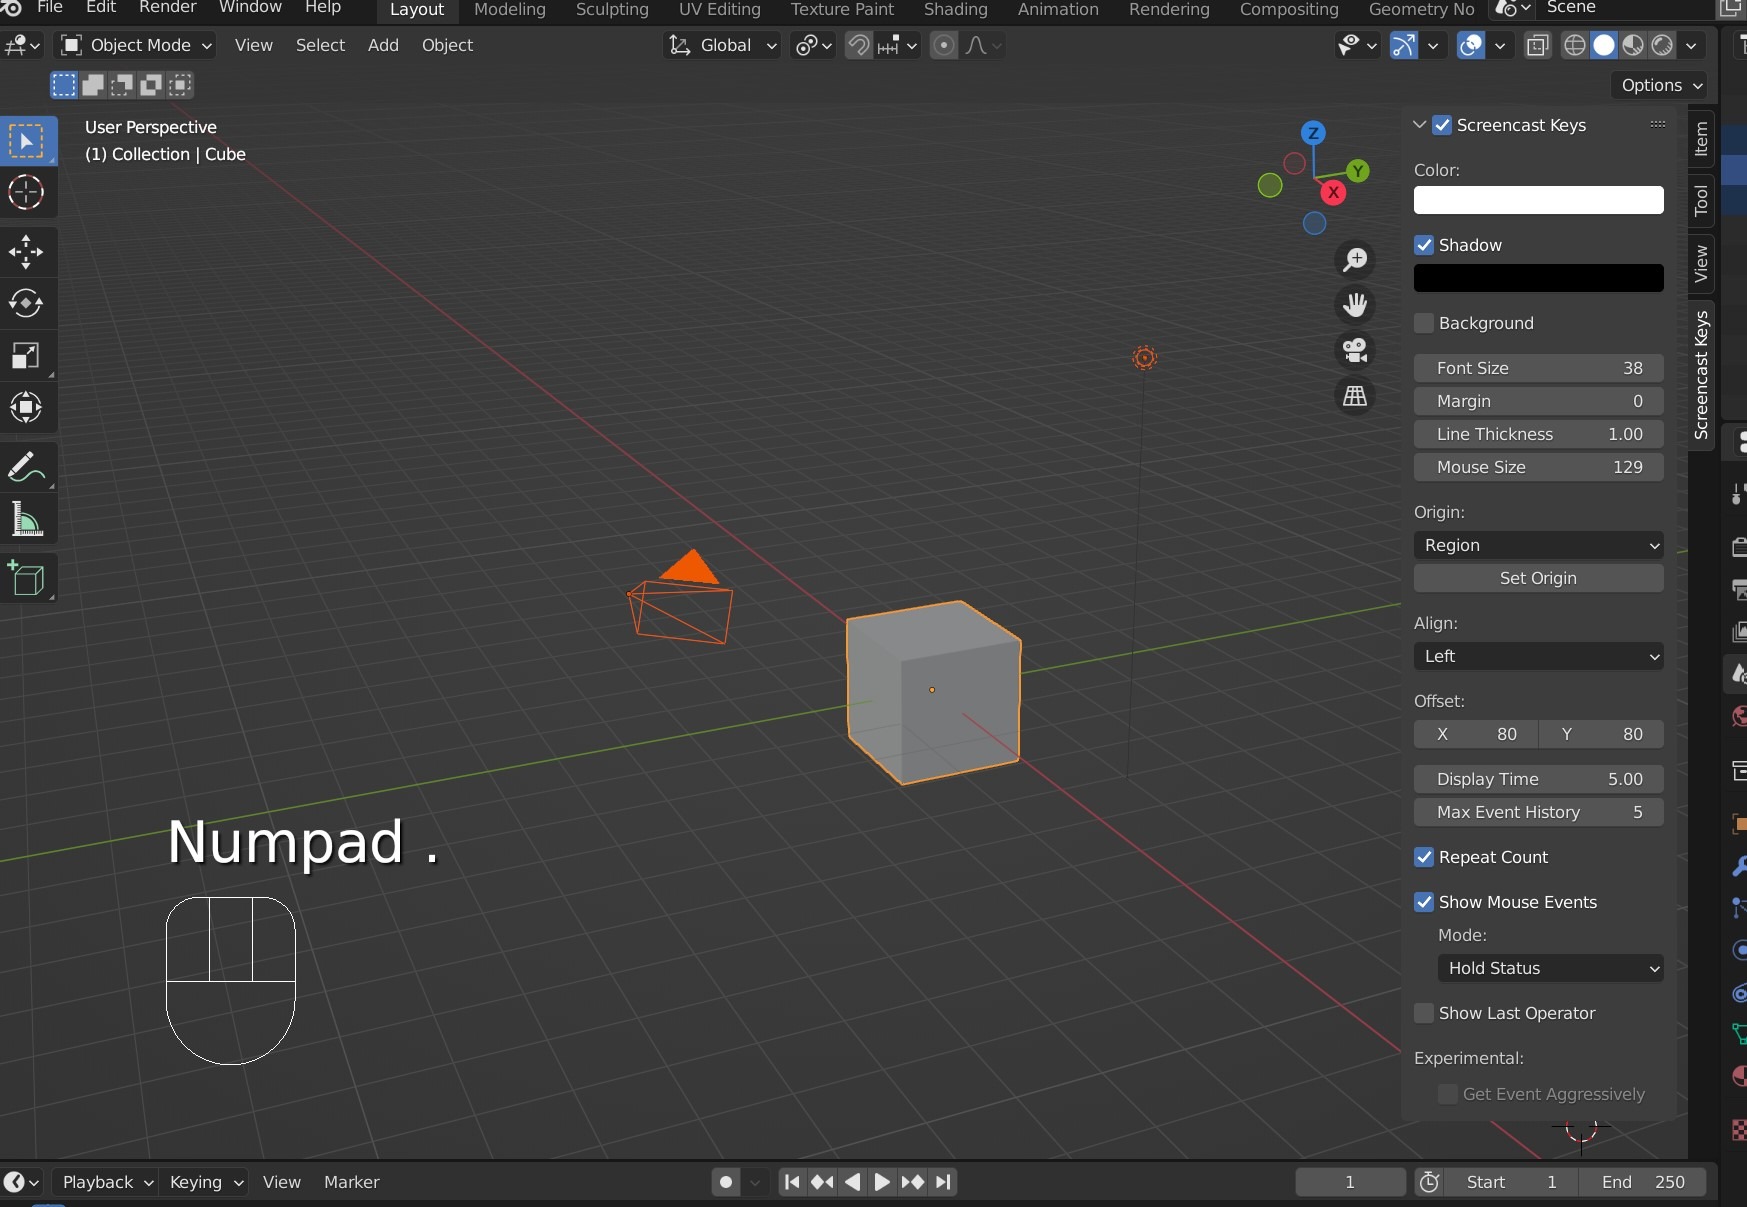
First, try pressing the
It’s the key below 3 on the numpad.
The numpad is an essential tool in Blender. If your laptop doesn’t have a numpad, consider purchasing and connecting one.
If you currently don’t have a numpad but want to get started, try the settings here.
When you press the key,
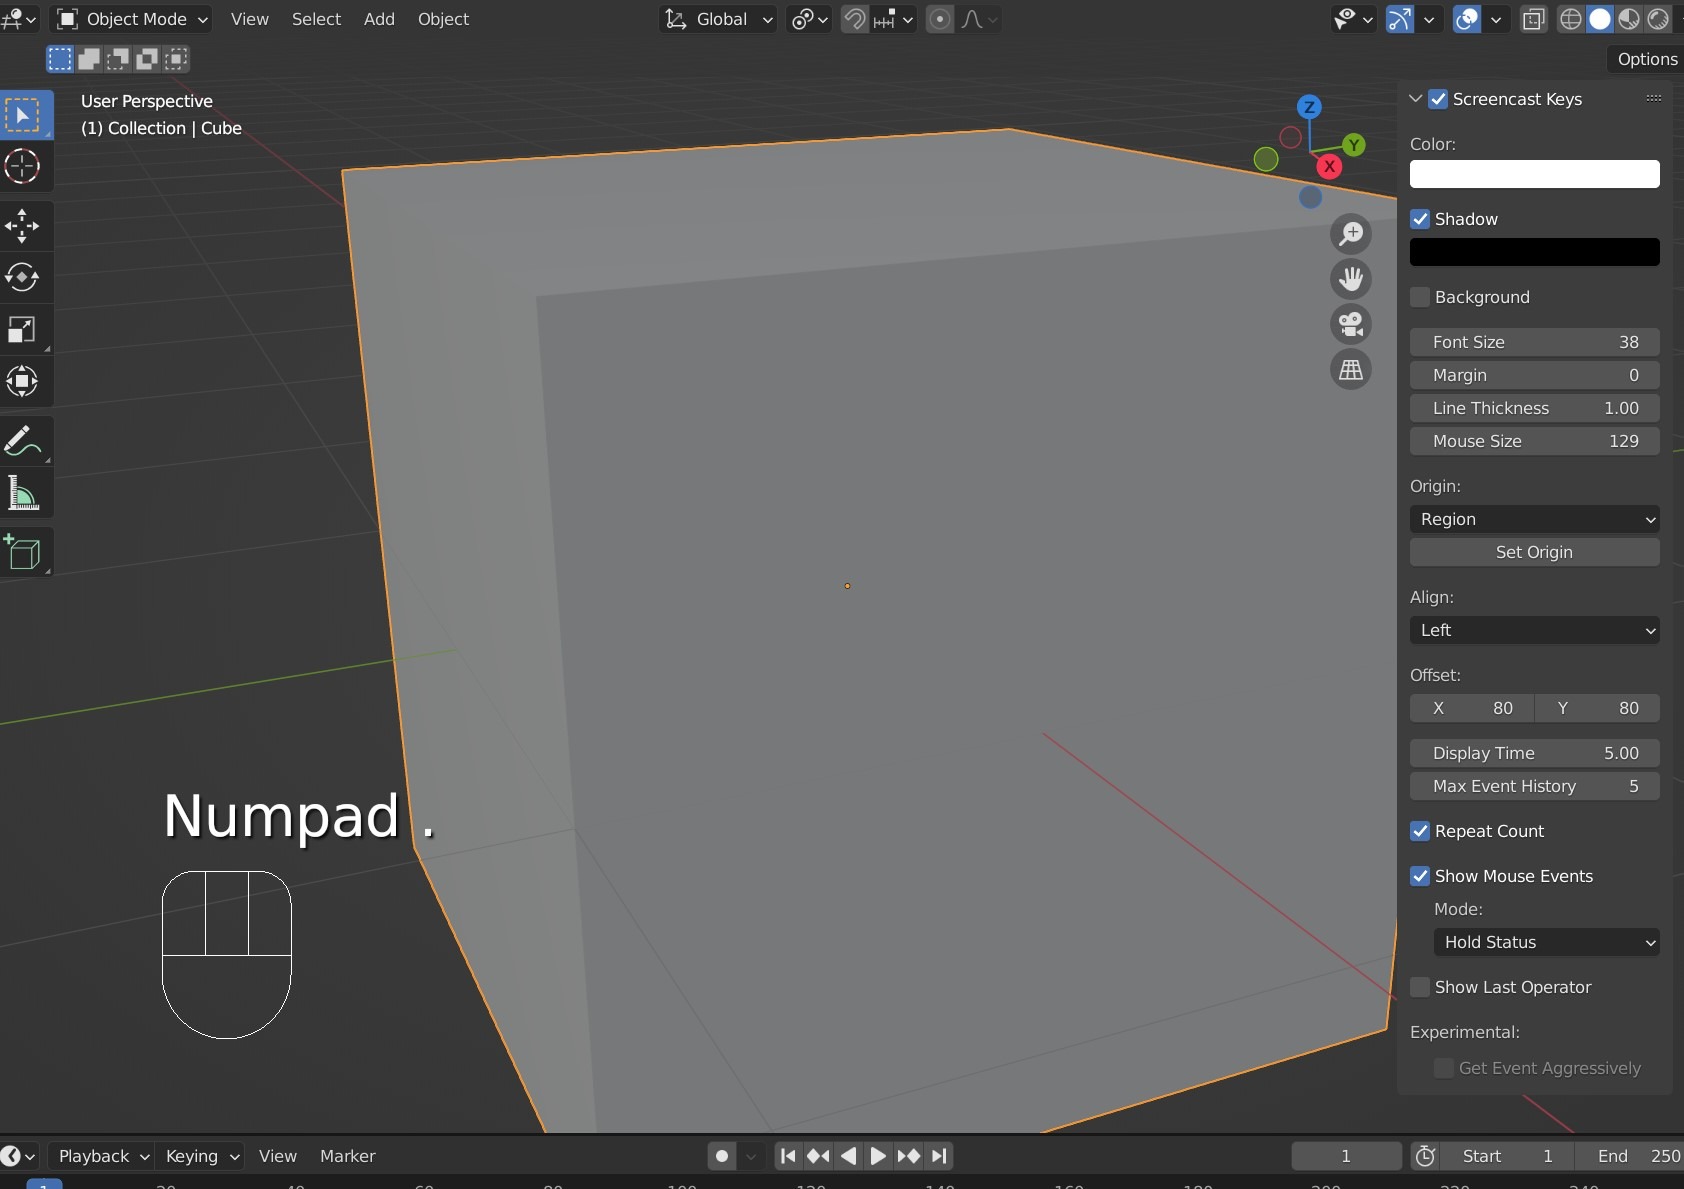
The working camera moves to make the selected object fill the screen.
Next, press the
Then, press the
The
From now on, all the features explained will be through shortcuts. Blender is like a conglomerate of shortcuts. But don’t worry, there aren’t that many of them.
Move the camera: Middle Drag , Shift + Middle Drag
Now, let’s rotate the working camera. The orbit rotation for the camera is done by
For parallel translation of the camera, use
Next, let’s move forward and backward. Use
For forward and backward movement, you can also use the mouse wheel.
You should now be able to move the camera freely. Let’s proceed to the next step.