Blender IKKINOMI は以下に移動しました。
ドメイン廃止予定日:2026年01月06日
3秒後に新しいページへ移動します。
自動的に移動しない場合は、お手数ですが以下をクリックしてください。
Blender IKKINOMI pages have moved to a new location.
The page will redirect in 3 seconds.
If it doesn't, please click the link below.
2023-12-13
10
Work Camera and Camera, Numpad 0
Camera for Rendering
In Three View 1, 3, 5, 7, the camera you were manipulating is the camera for modeling, essentially a camera for working, so let’s refer to it as the Work Camera from now on.
This Work Camera is not the camera used for rendering the final image. For rendering, a separate camera needs to be set up.
When you launch Blender, a camera for rendering is already created in the scene.
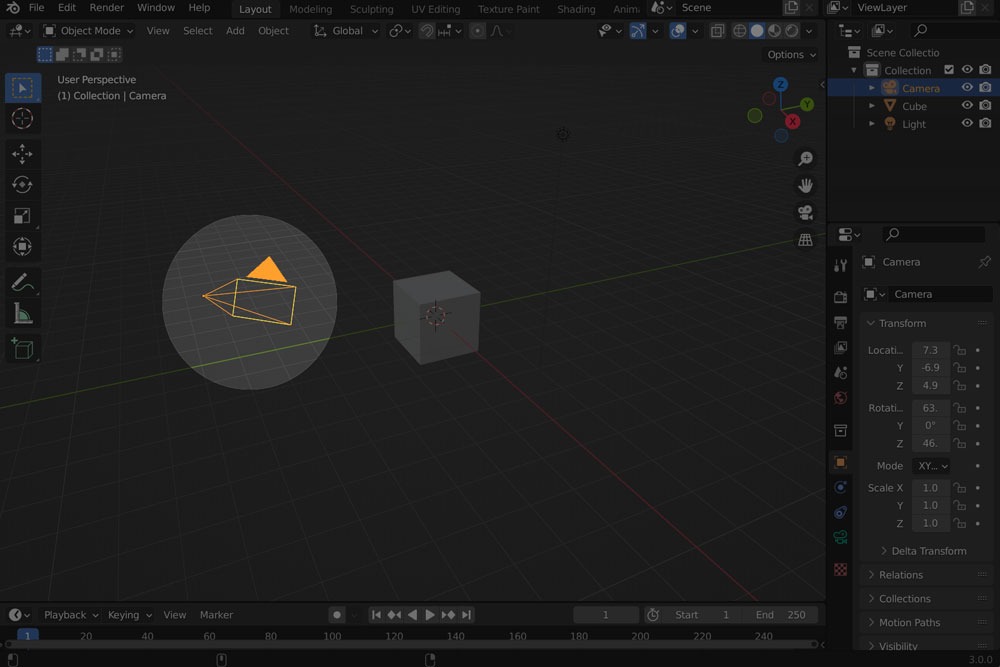
The yellow cone represents the rendering camera. It can be moved and rotated just like other objects.
Until now, switching between different views (using Numpad
Let’s load simpleCar_0.zip on Three View 1, 3, 5, 7 and press

This is the view from the camera that will be used for rendering. Let’s press the
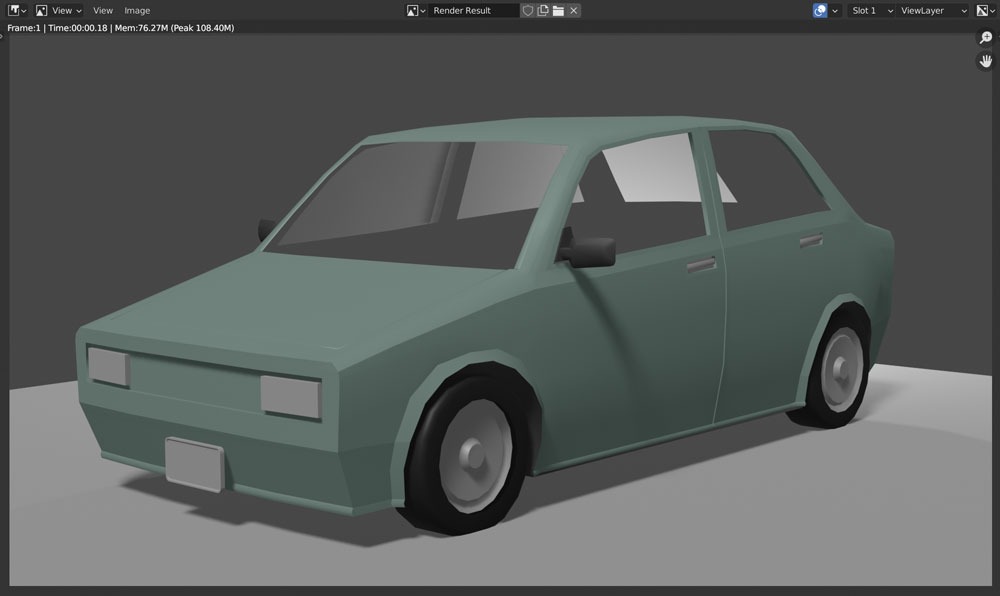
The rendered result has been displayed. Since this is just for confirmation, please press the
To return to the working view, press the
You can also immediately return to the working camera by dragging the
Next, let’s add another camera to try switching between multiple cameras.