2023-12-13
8
3D Cursor Shift + S, Shift + C
Pivot
In Mastering G, R, S Keys (1), we learned that translation, rotation, and scaling can be performed using only keyboard shortcuts.
Now, let’s discuss the concept of “Pivot” in Blender, which determines the point around which rotation and scaling occur.
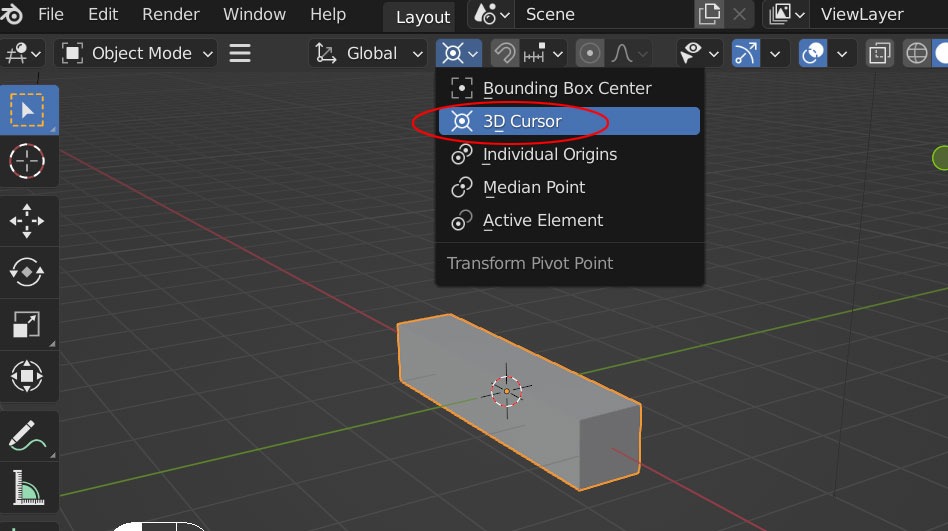
Until now, the menu shown below has consistently been the second option from the bottom.
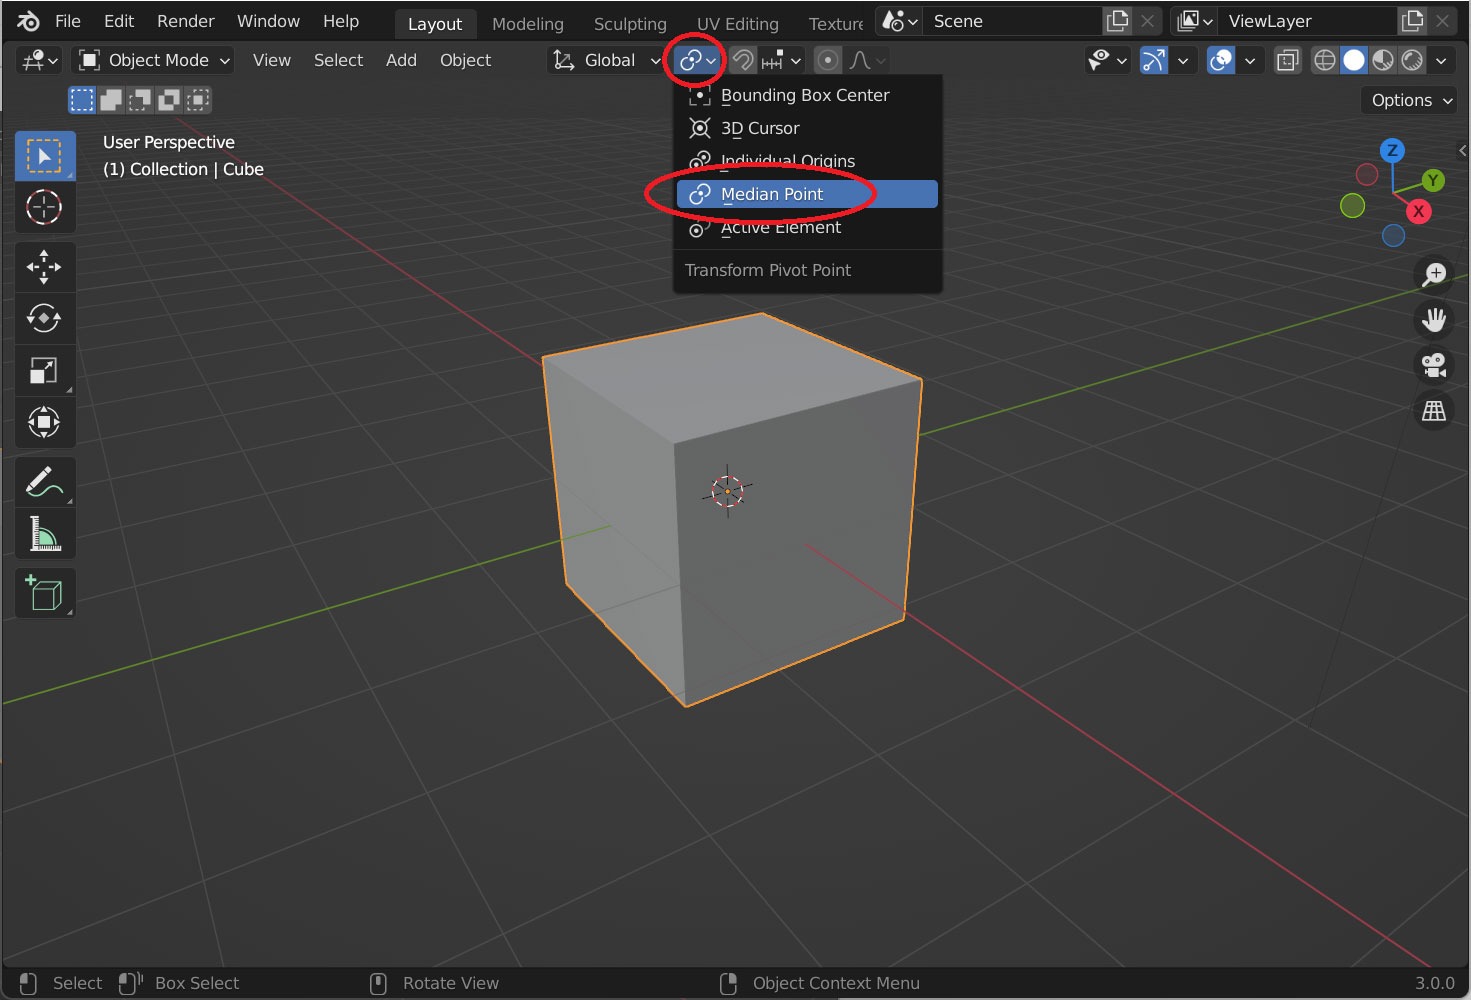
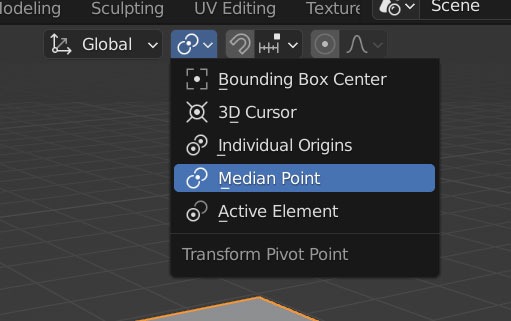
Median Point, or the midpoint, refers to the center of the currently selected objects.
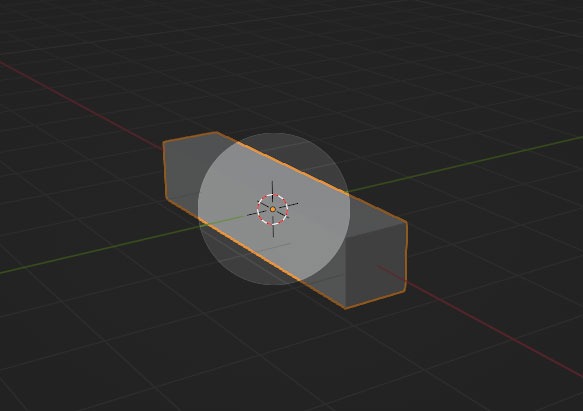
When in Median Point mode, rotating an object causes it to pivot around the center of the selected objects, as demonstrated below.
When multiple objects are selected, rotation occurs around their center, or the “center of mass,” in Median Point mode.
This behavior is consistent even in Edit Mode.
When multiple items are selected, the rotation center is the “center of mass” or the weighted average of the selected elements.
You can observe that the rotation is happening around their collective center of mass.
It becomes apparent why nothing happens when only one vertex is selected.
3D Cursor
If Pivot determines the center automatically, then the tool for manually specifying the center is the 3D Cursor, which can be visualized as the pivot of a compass. It serves as a tool to rotate around a specific point.
The 3D Cursor is already visible on the screen.
The 3D Cursor is referred to as a “float” in the Blender community, and indeed, its appearance is reminiscent of a float.
First, change the mode from Median Point to 3D Cursor.
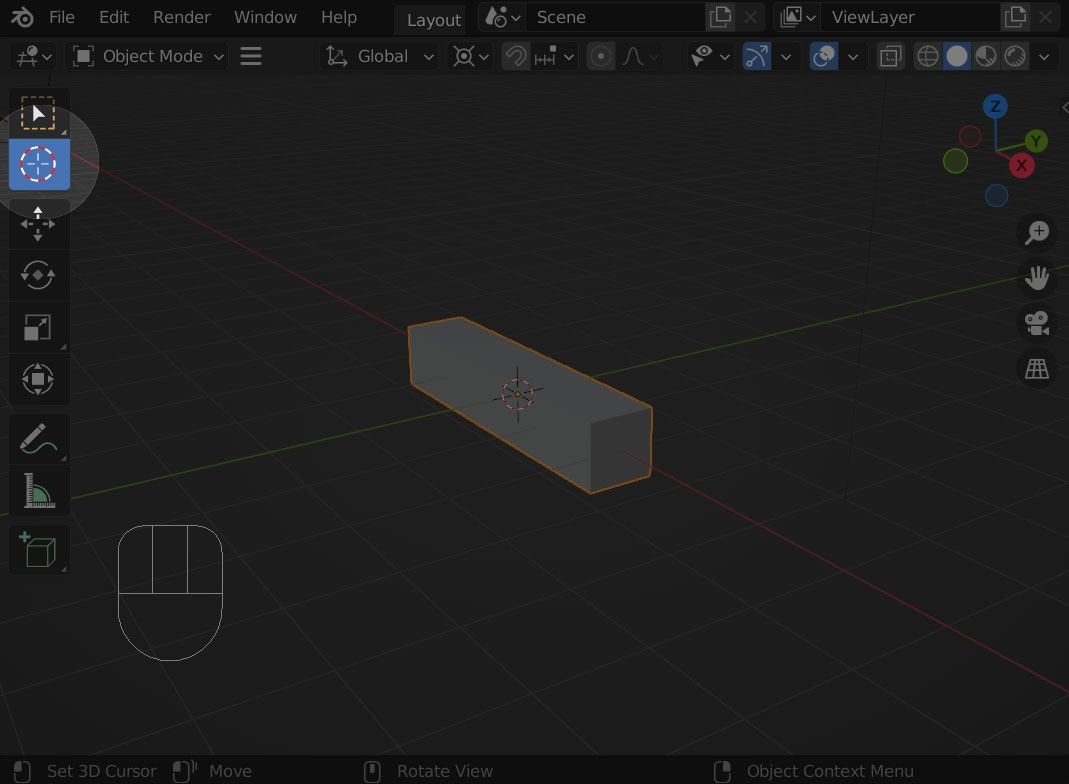
Now, let’s actually set the position of the 3D cursor by
Selecting the 3D cursor makes it the center for G, R, S operations. The 3D cursor serves as the pivot point, and you often want to place it precisely on vertices or faces.
To achieve this, you can use the menu that appears with
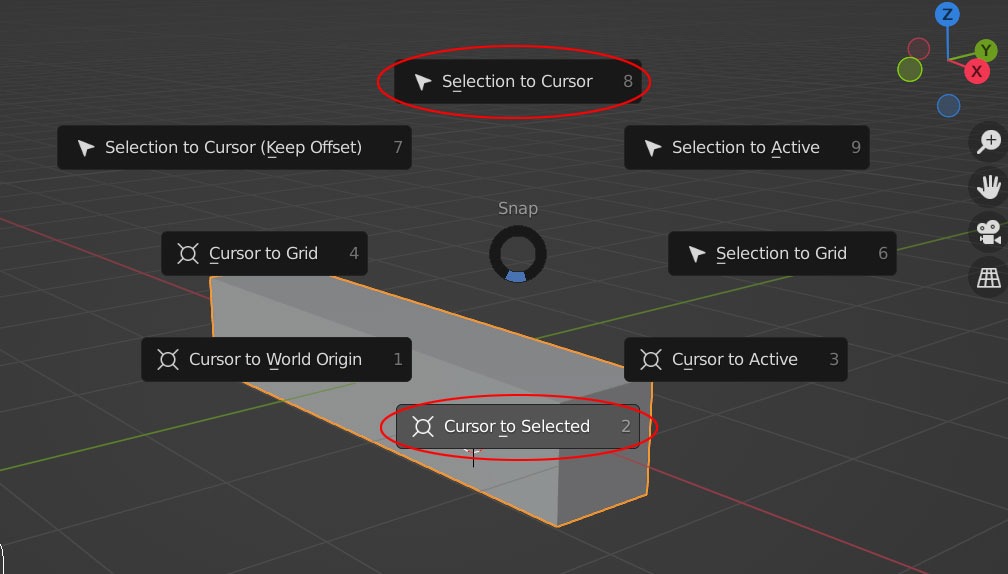
When in Edit Mode by pressing the Tab key, the 3D cursor sticks to the center of the selected points (vertices, edges, or faces).
Conversely, if you want to snap the selected object(s) precisely to the 3D cursor’s position, choose “Selection to Cursor” from the menu.
With
Selecting “Cursor to Selected” at the bottom moves the 3D cursor to the position of the selected objects.
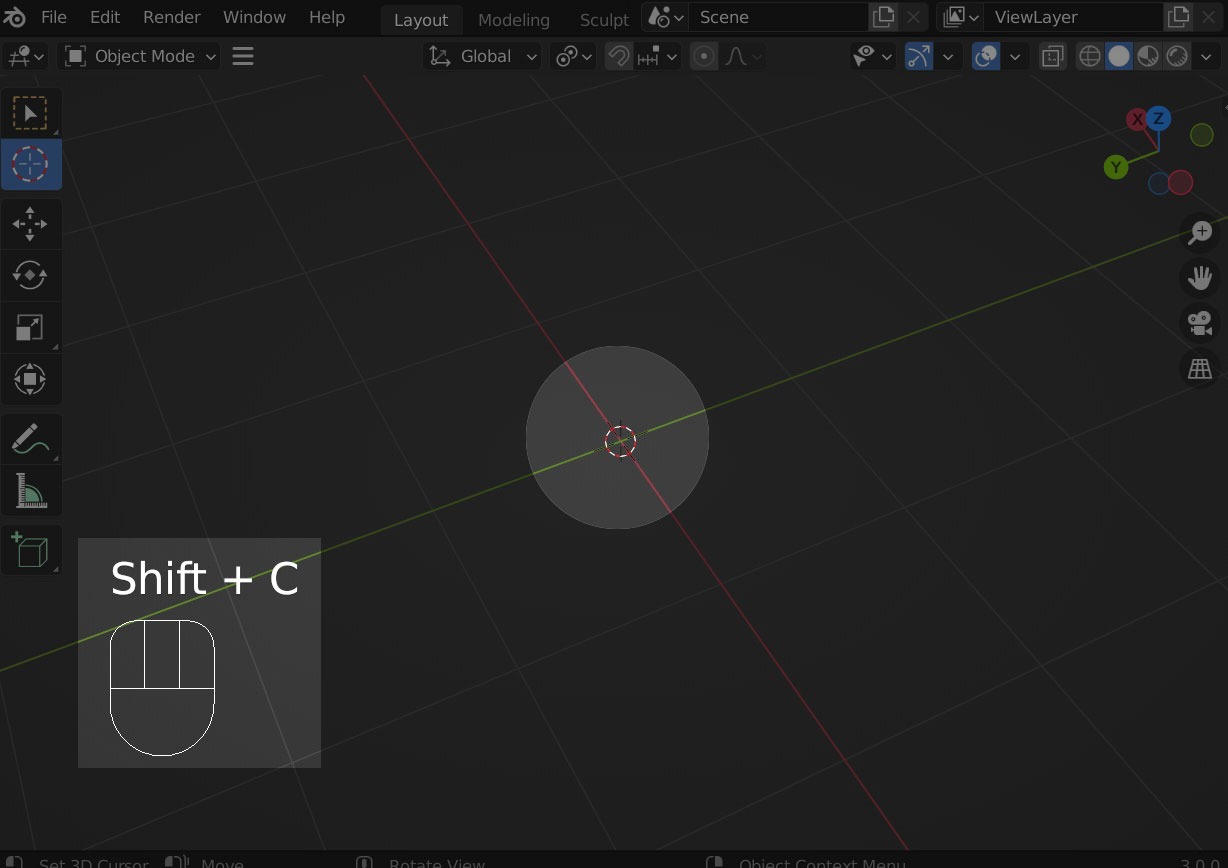
The Shift + S menu doesn’t have a function to place the 3D cursor at the world origin.
Because this action is commonly used,
is assigned as a shortcut.
These two shortcut keys explained here are frequently used during the workflow.
Now, the term “world origin” has been mentioned. It refers to the point where the XYZ axes intersect. Since there are many situations where you want to place the 3D cursor at the origin, a separate shortcut key, Shift + C, is assigned for this purpose.