2023-12-13
13
Views and Workspaces
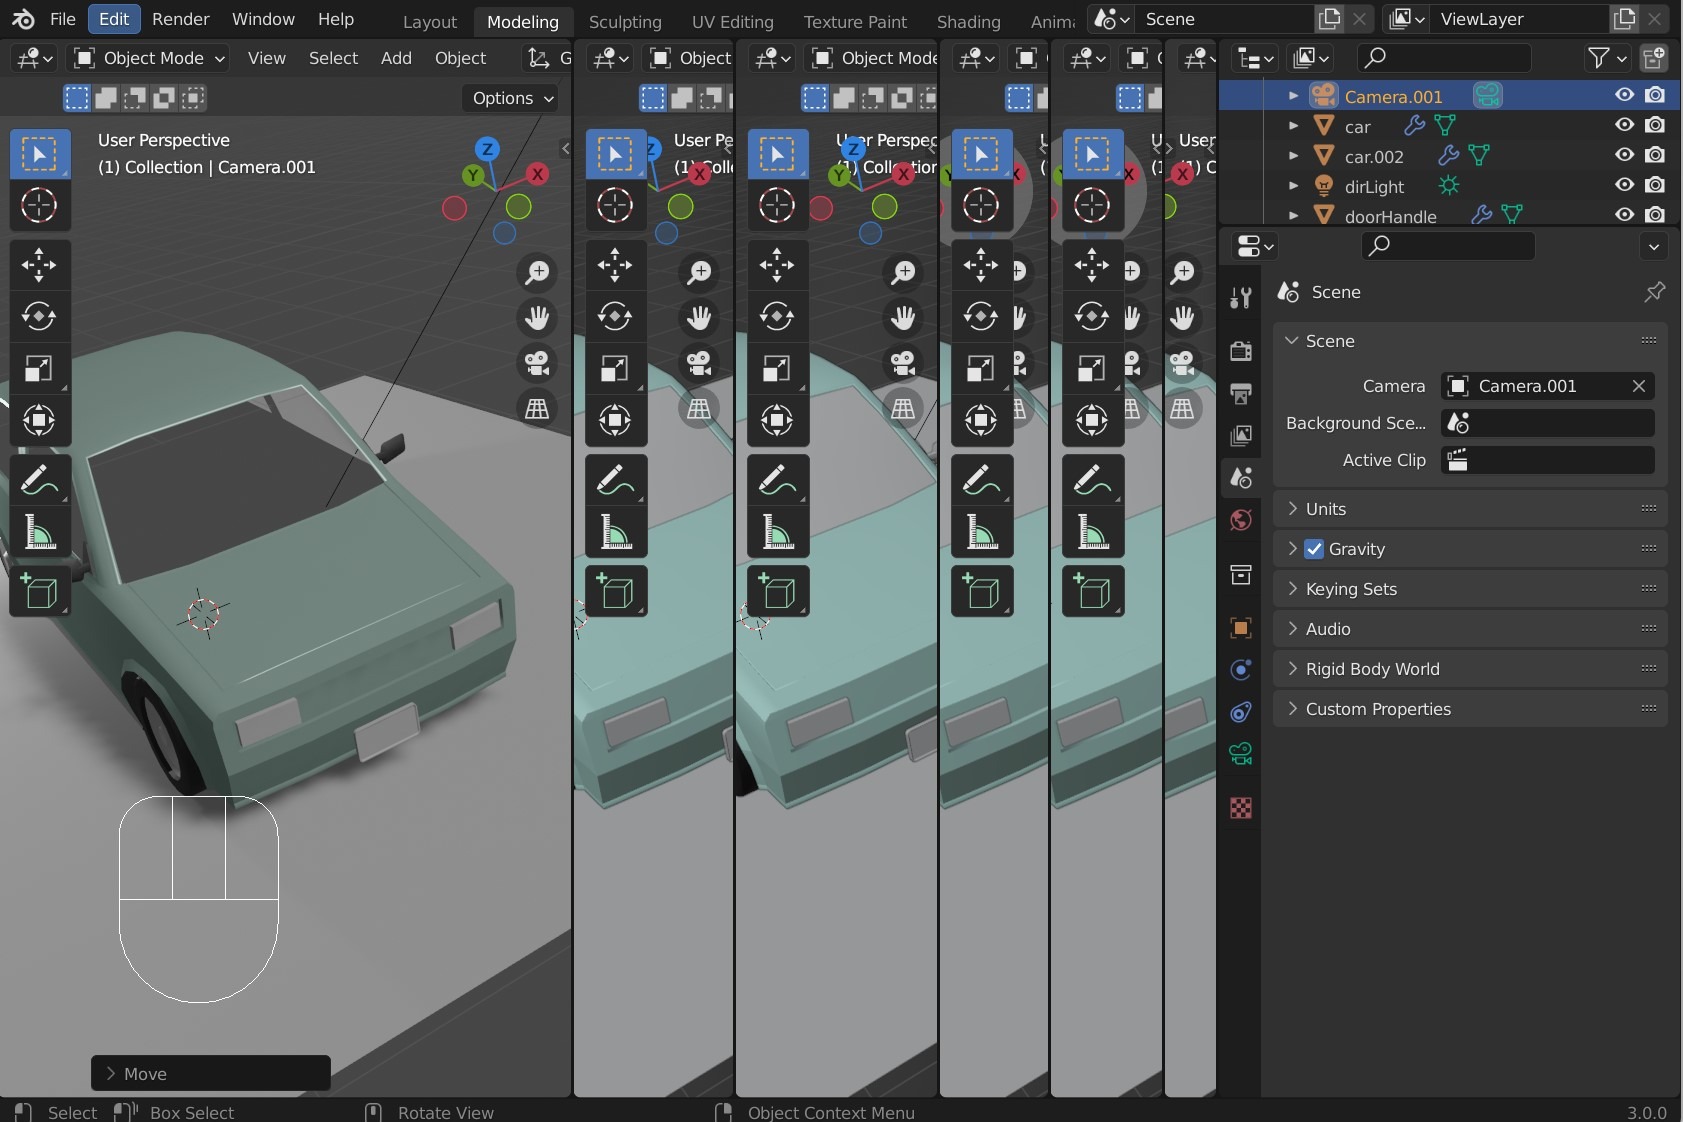
Splitting view
Dragging any of the four corners of each view allows you to split and increase the number of screens.
When you hover the mouse cursor over the corners, it changes to a crosshair, indicating that you can drag in that area.
You might have already tried this, and some users may find themselves in a situation similar to the one shown below.
Screens that have been added can be closed by dragging in the opposite direction from where they were opened.
When you are having trouble closing screens, it is usually because the number of screens on the left and right (or top and bottom) is different.
Try closing adjacent screen areas until they match in the number of subdivisions. It’s a good idea to keep the screen split into roughly two parts vertically.
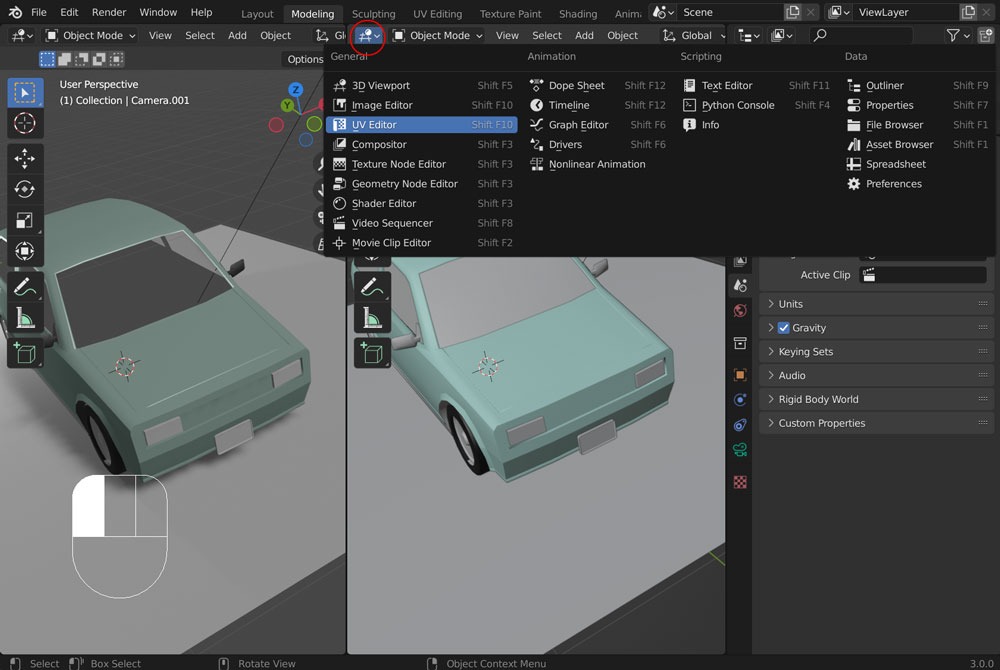
You can choose what to display in each divided screen, as indicated by the red circles in the figure below.
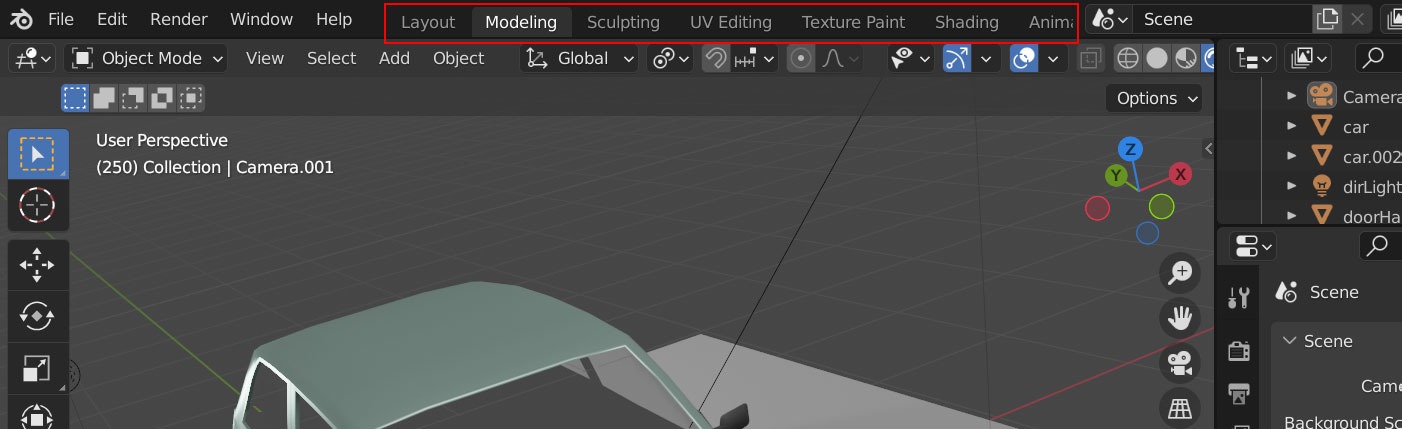
Choose workspace
Up to this point, you’ve been manually splitting views to create new workspaces.
However, you can easily jump to a suitable layout by using predefined workspace.
Now, you’ve covered most of the user interface navigation.
Next, let’s dive into actual modeling.